
Requirements
- Must have access to Cloud.Red platform and permissions to download the needed OVA
- Must be able to upload the OVA to vSphere environment
- Must be able to create a virtual machine in the vSphere environment
- Must be able to access the created virtual machine’s console in the vSphere environment
- Must have the needed firewall rules deployed allowing access to the internet, access to your managed devices, etc…
- Must have the agent names provided to you by WorldTech IT
Cloud.Red Agent Deployment
Download the OVA- Download the OVA file for VMware via the agents tab in cloud.red
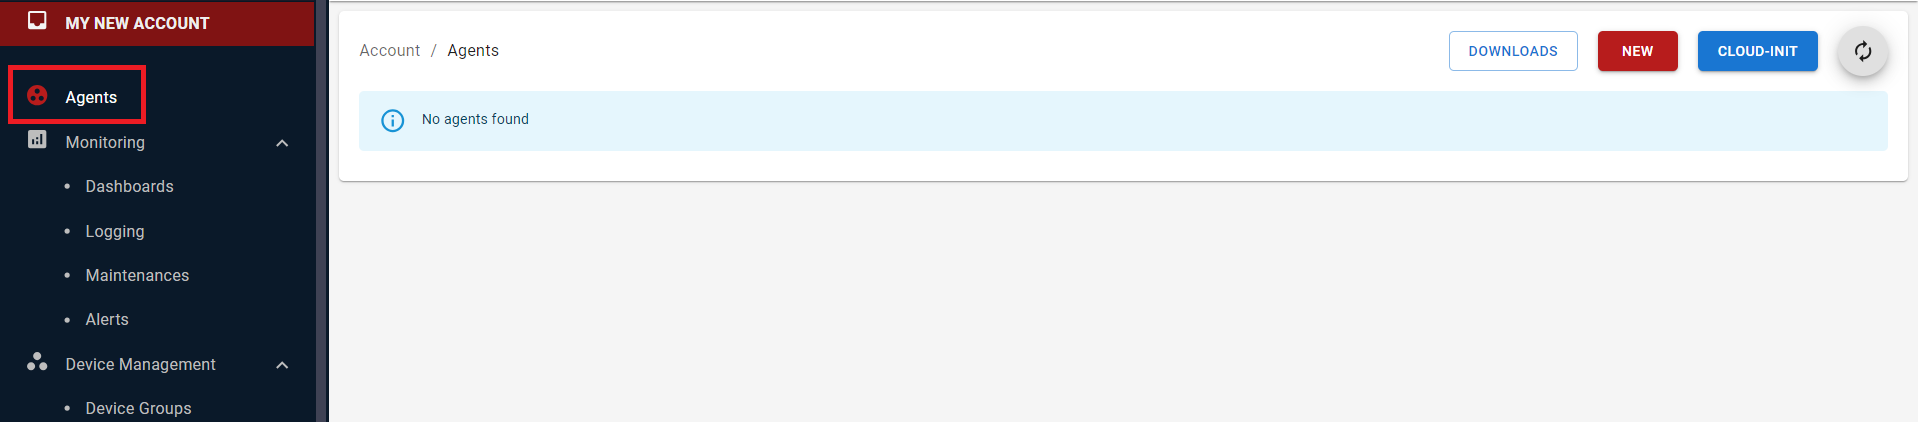
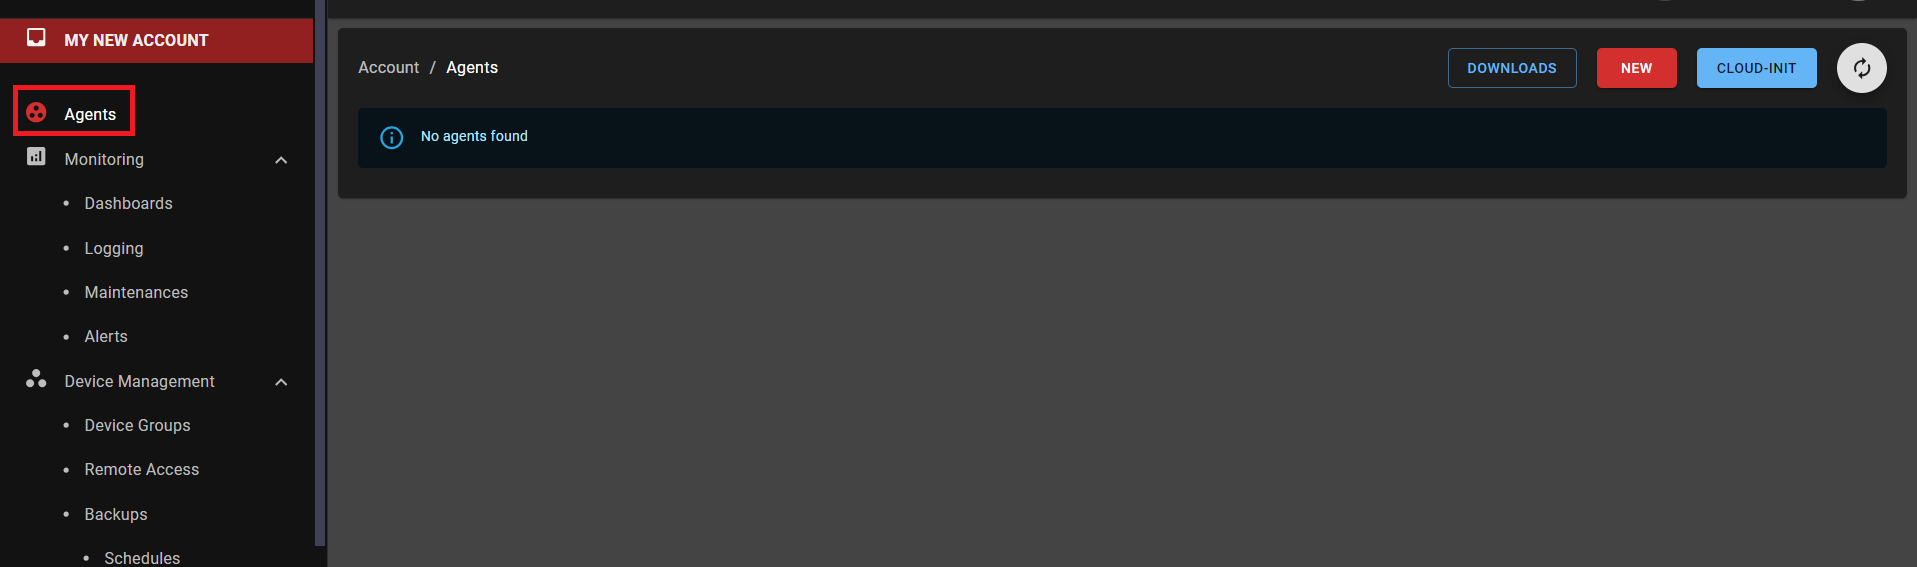
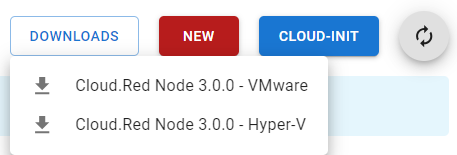
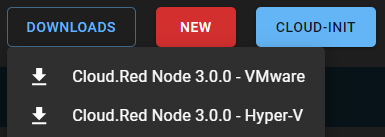
- Select downloads in the upper-right hand corner and be sure to select the OVA file named “Cloud.Red Node 3.0.0 - VMware”
Deploy the OVA to your vSphere environment
- Provide the downloaded VMware OVA to your VMware administrator
- The OVA needs to be uploaded to vSphere and then must be used to create a virtual machine
- Power on the virtual Appliance
Menu Shell
- Access the VMware console for the virtual machine
- Provide the credentials listed below
User: netadmin
Default Password: Will be provided by WTIT

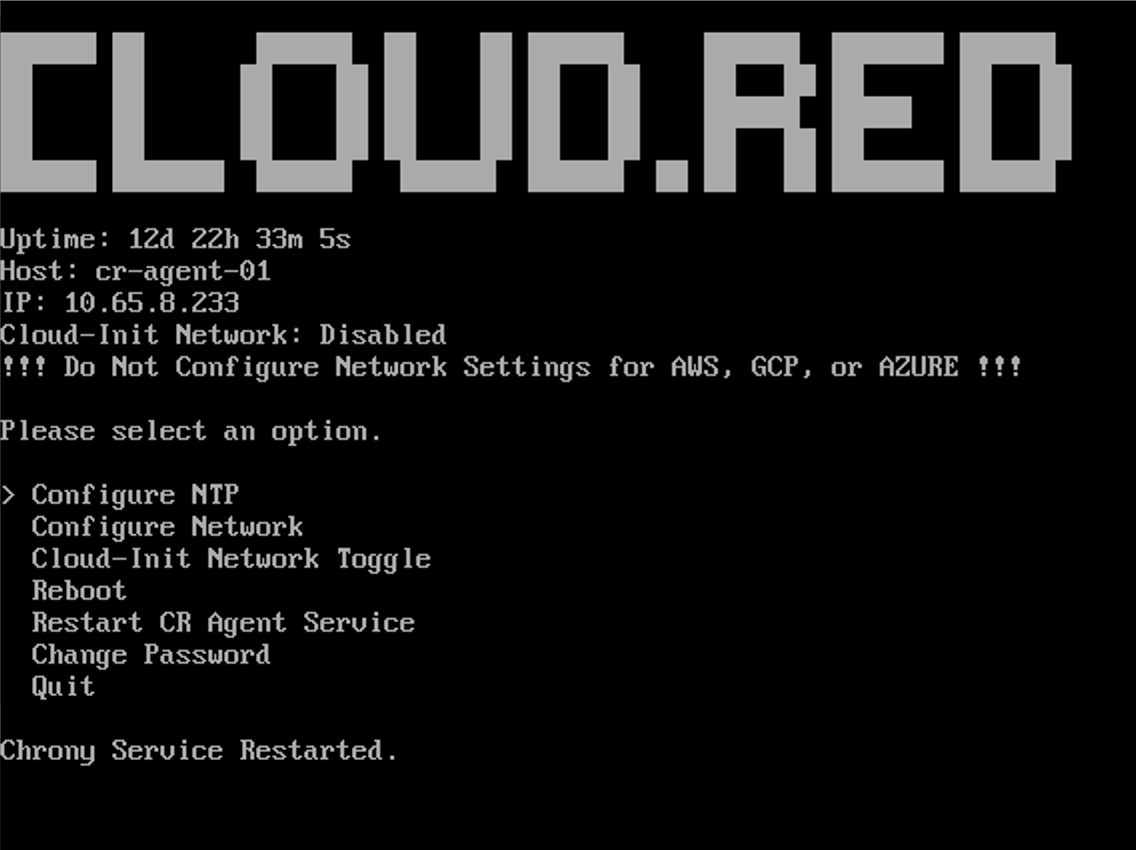
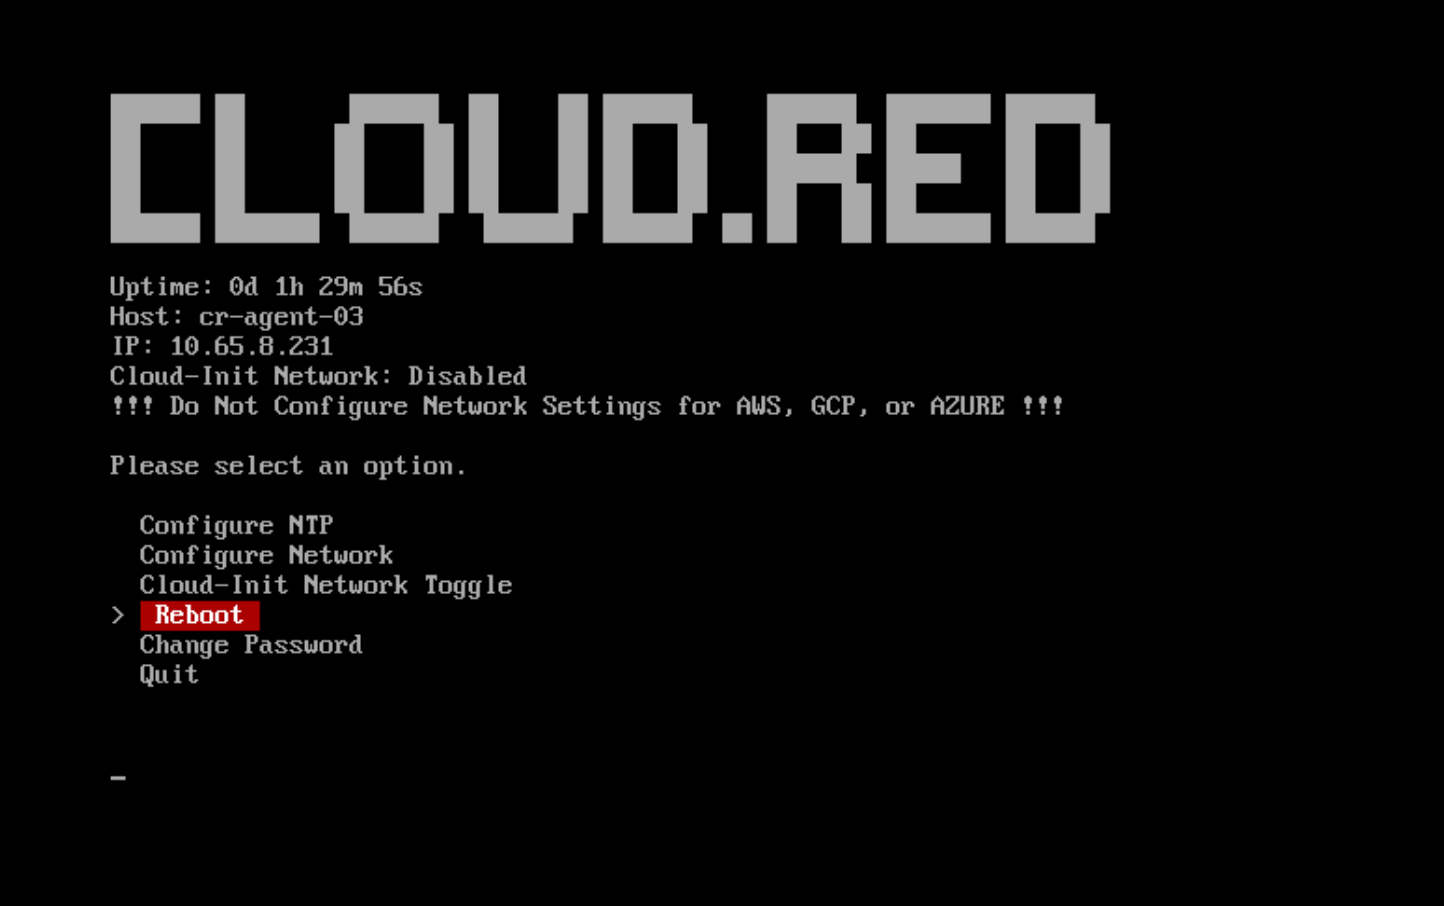
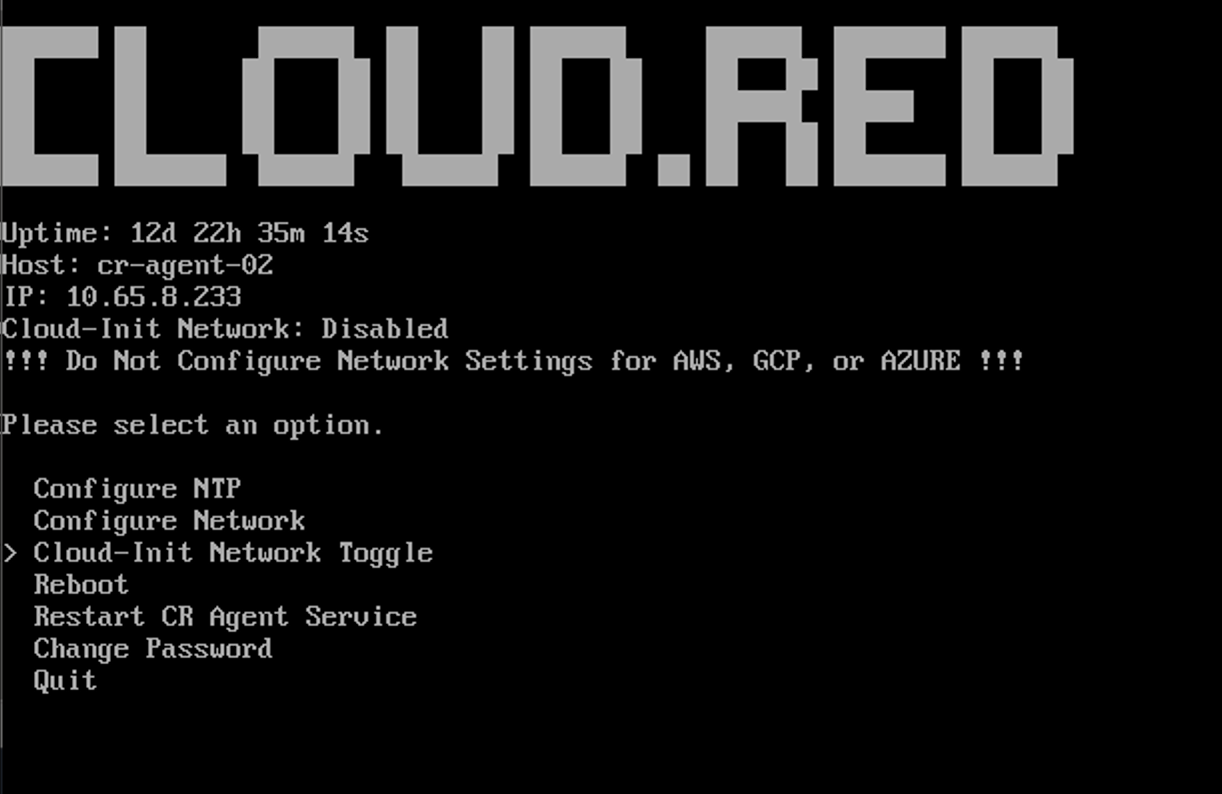
Once logged in, the GUI menu will be displayed.
- Configure NTP: The Network Time Protocol (NTP) is a standard protocol used to synchronize computer clock times in a network. The “Configure NTP” option in the GUI menu allows users to set up or modify the NTP servers that the device will use to sync its internal clock.
- Configure Network: This option provides users the ability to set or modify network parameters like IP addresses, subnet masks, gateways, and hostname.
- Cloud-Init Network Toggle: The “Toggle Cloud-Init Network settings” option allows users to enable or disable the Cloud-Init’s network configuration settings.
- Reboot: This option allows users to safely restart the device.
- Change Password: This option allows users to modify the password for the “netadmin” user profile.
- Quit: This option allows users to exit the menu, and log out of the “netadmin” user.
Select the expands below for more information on each action.
Configure NTP
Configure NTP
To Configure NTP, consult the following:Access Configure NTP from the main menu
Use the arrow keys to navigate through the available options on the main menu.
Highlight the “Change Password” option and press ‘Enter’ to select it.
Select the tab of the action to be performed.
- Add NTP Server
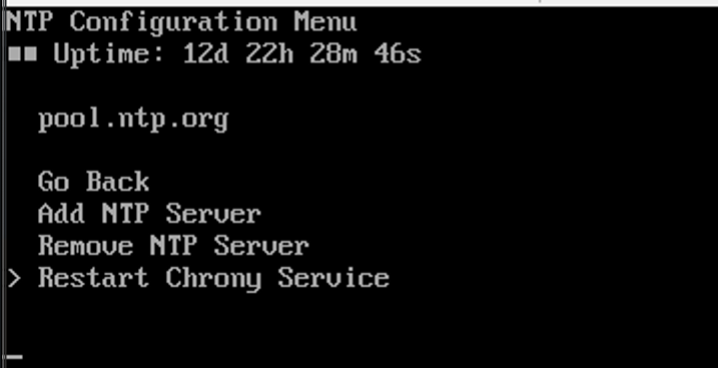
- Remove NTP Server
Permits the addition of a new NTP server address.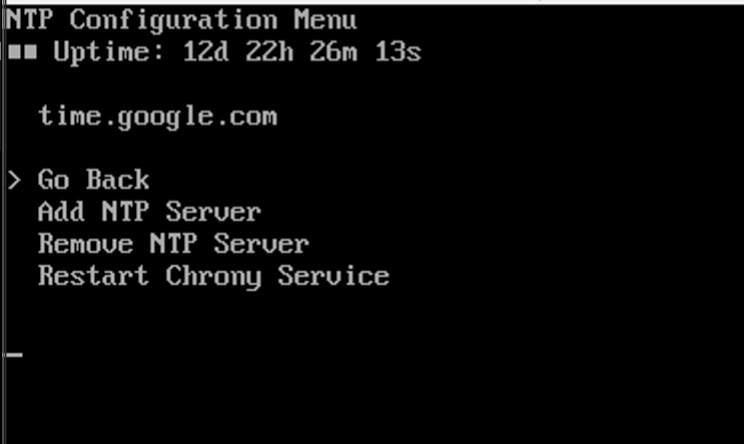
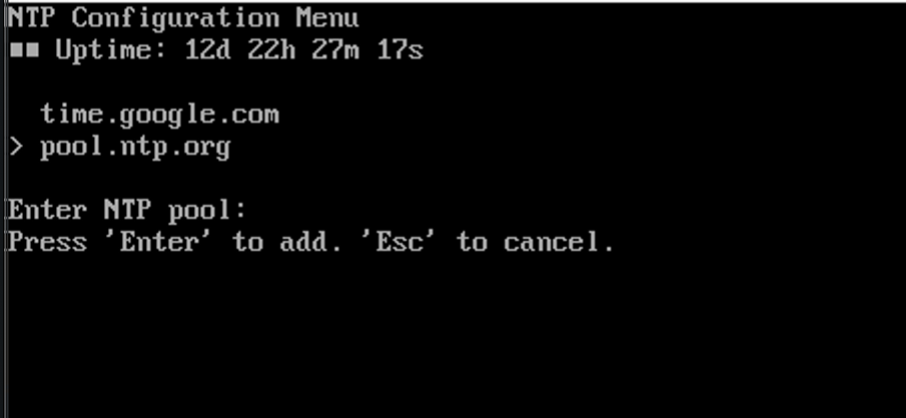
- Select “Add NTP Server”
- Confirm the addition by pressing “Enter”.
- Select “Restart Chront Service”
To return to the main menu without making any changes, select go back.
Configure Network
Configure Network
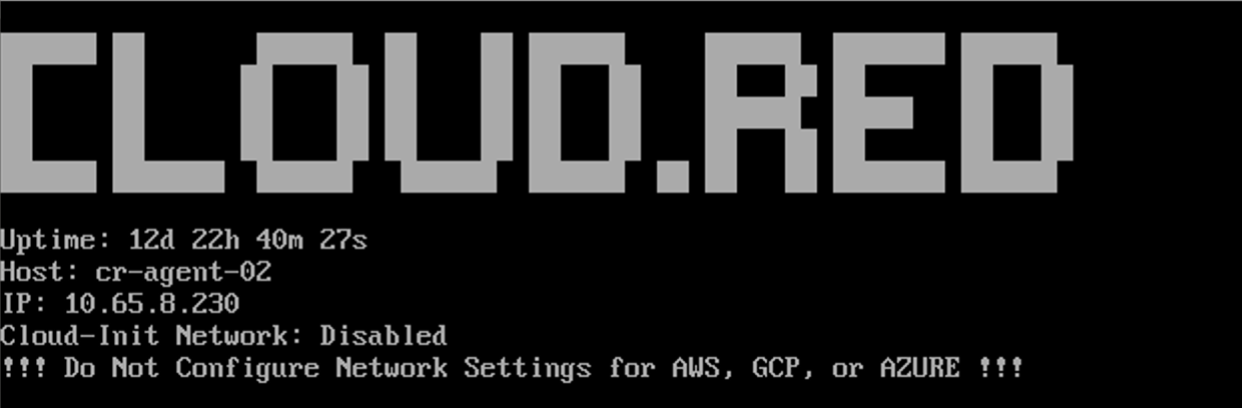
When disabled, Cloud-Init Network will show as disabled below the IP.
To Configure Network, consult the following:
- In the main menu, navigate using the arrow keys to the option that says “Configure Network”
- Select it by pressing the ‘Enter’ key on your keyboard.
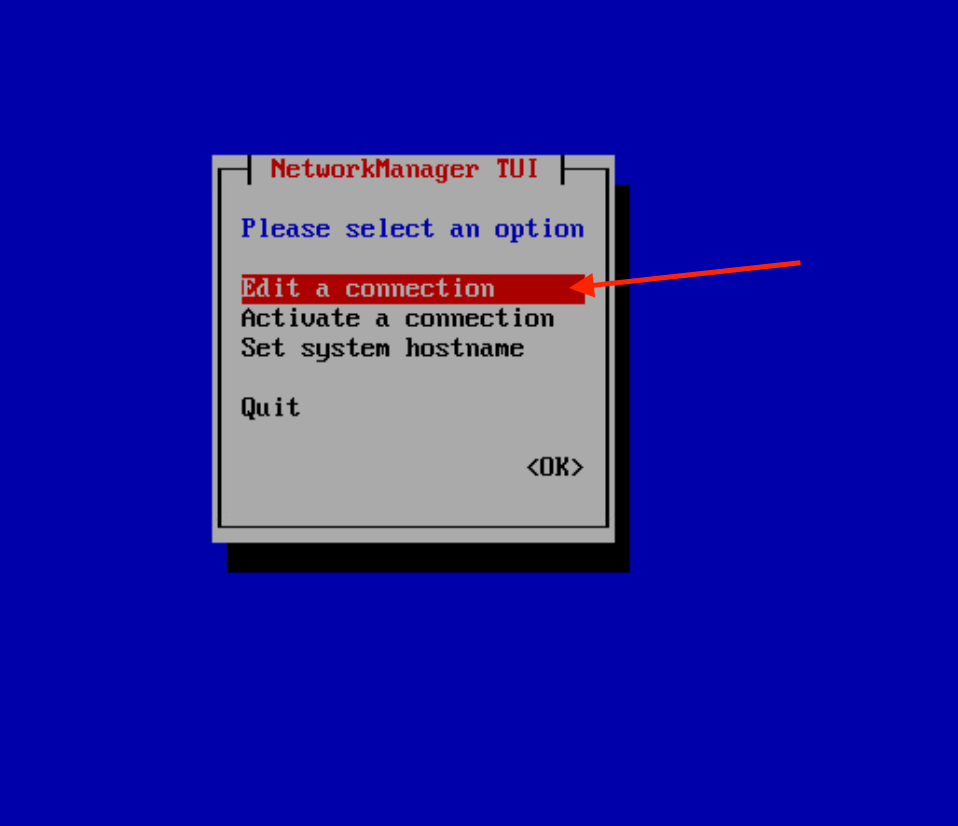
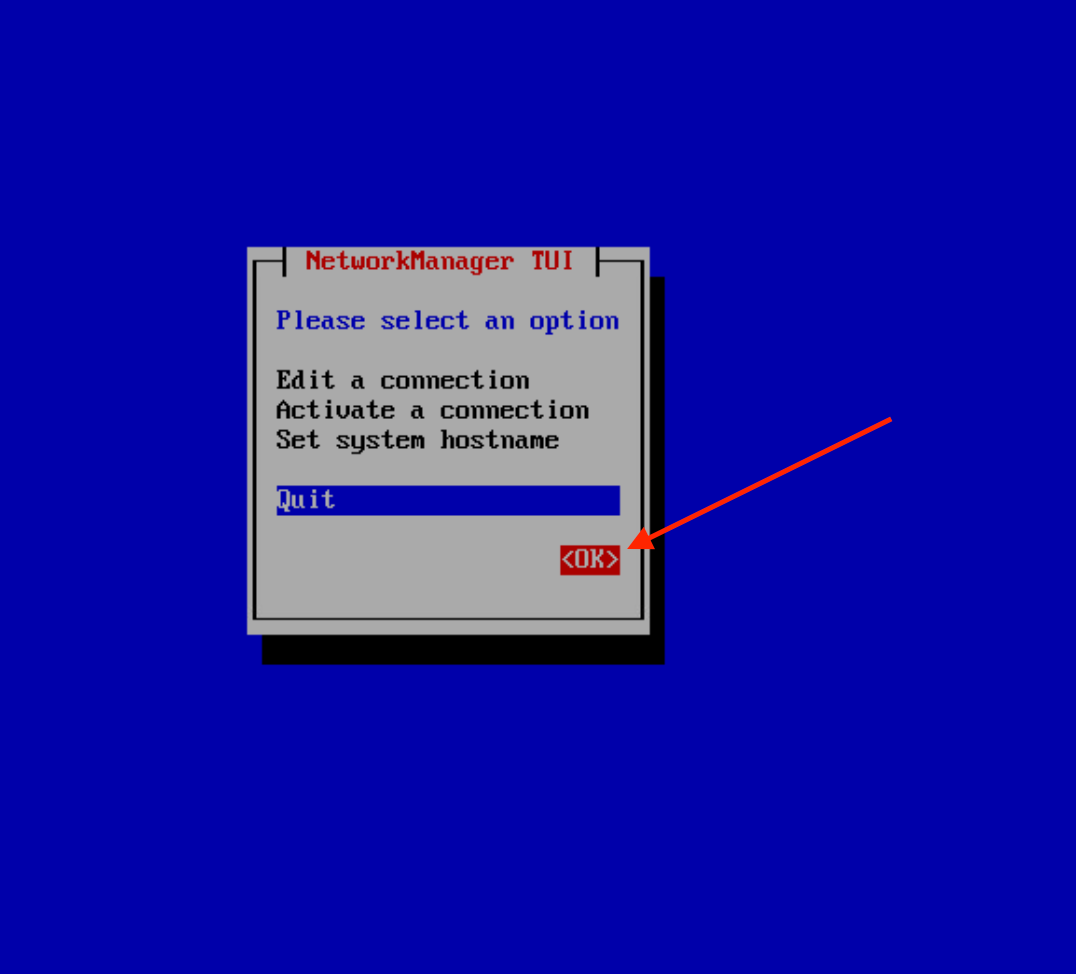
- Edit a connection: Modify existing network configurations.
- Activate a connection: Start a specific network connection.
- Set system hostname: Rename your system for identification on the network.
- Quit: Return to the Network menu.
Select the tab of the action to be performed.
- Edit a connection
- Activate a connection
- Set system hostname
- Navigate to “Edit a connection” and press “enter”
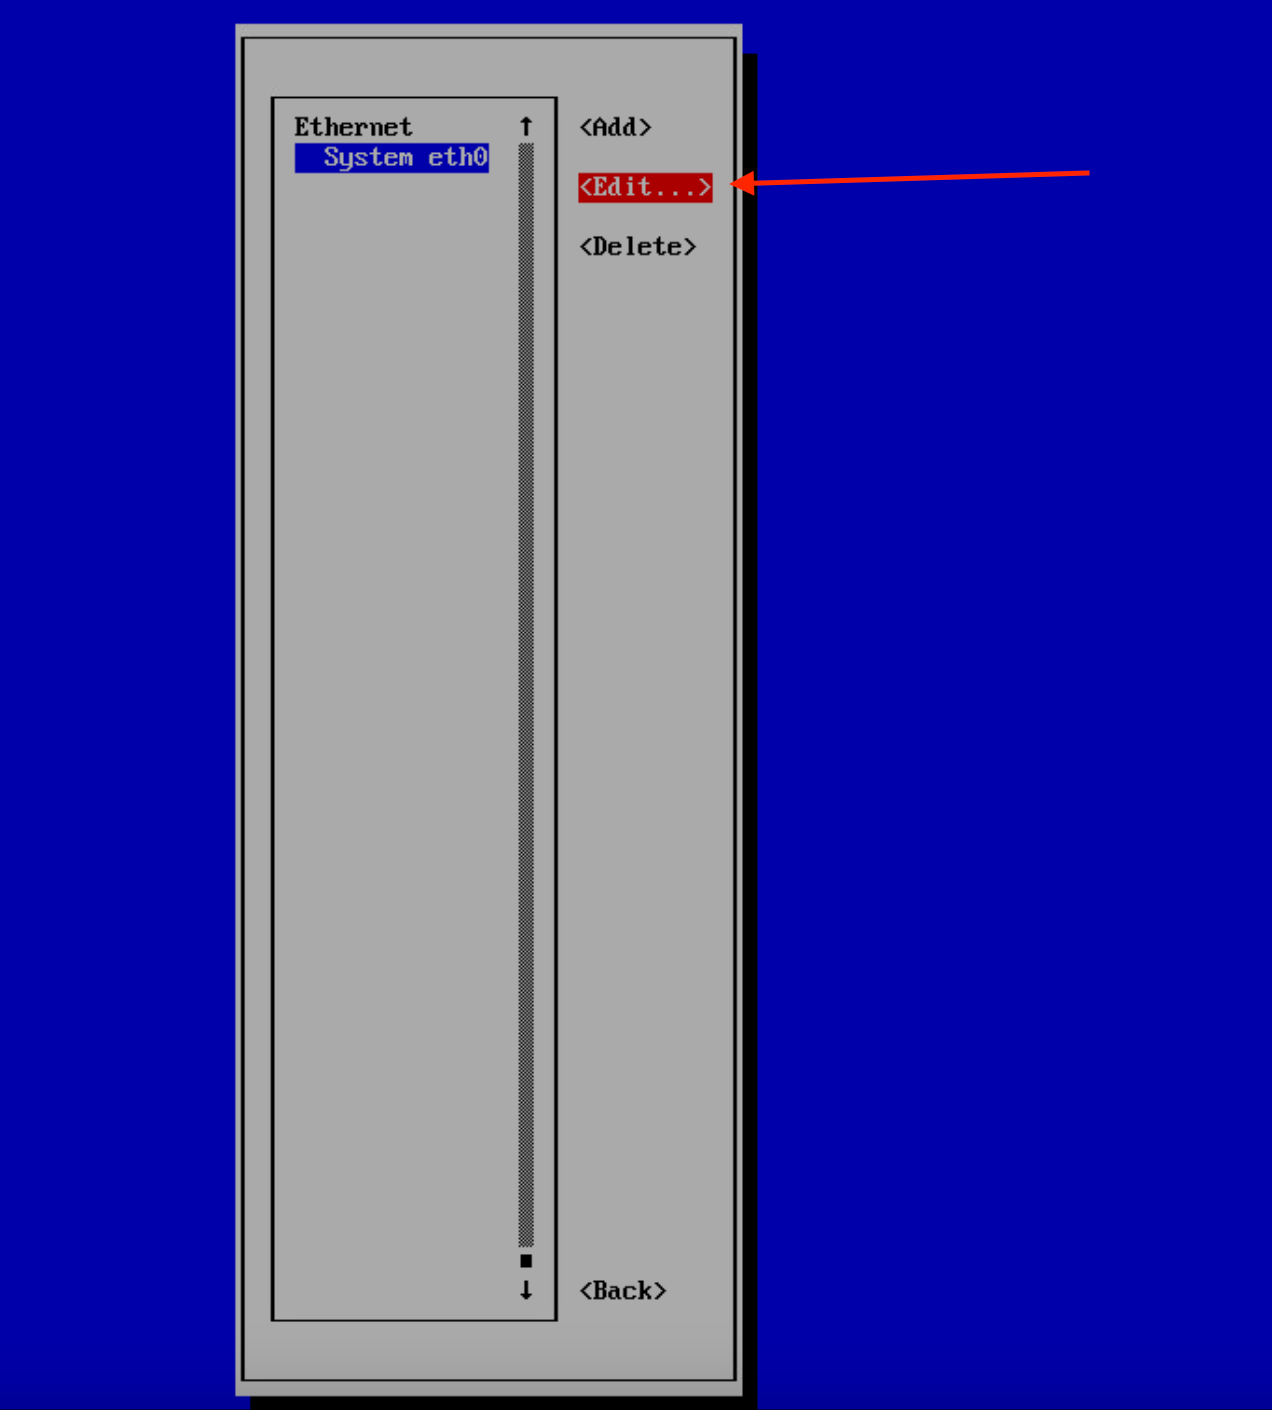
- A list of available network connections will be presented.
- Add: Create a new network connection.
- Edit: Modify the selected network connection’s settings.
- Delete: Remove the selected network connection.
- Back: Return to the previous menu.
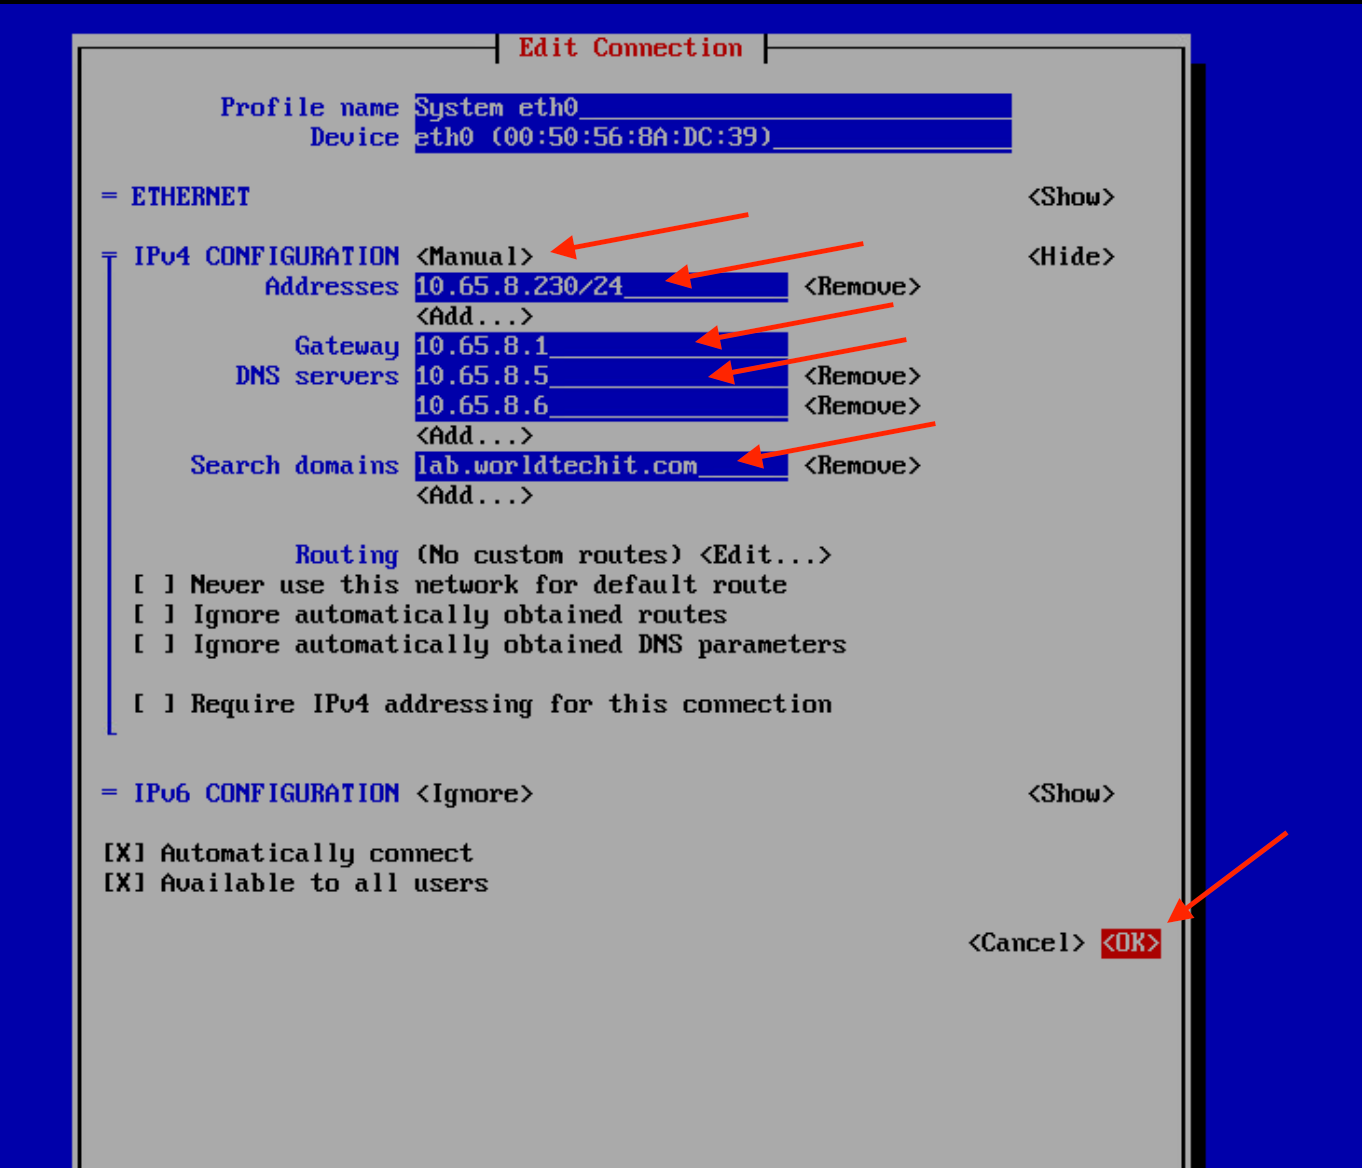
Change Configuration Mode: Initially, it might be set to “Automatic.” Change this to “Manual” to manually input the IP details.
- Address: IP address for the device.
- Gateway: IP address for the gateway.
- DNS servers: Domain Name System servers’ IP addresses.
- Search domains: Domains to search when resolving hostnames.
- Routing: Settings related to data routing.
- Navigate to “Back” to go back to the main menu in the NetworkManager TUI.
- Navigate to Quit if all changes required in the Network Manager have been made
- Press “Enter” to go back to the main menu
Once back to the Main Menu, any IP changes or Hostname changes made will be applied and visible in the menu GUI.
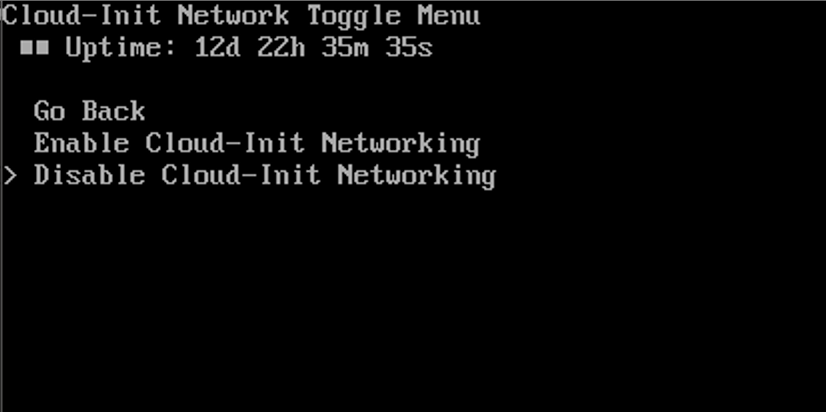
Cloud-Init Network Toggle
Cloud-Init Network Toggle
To toggle Cloud-Init Networking, consult the following:
- Use the arrow keys to navigate through the available options on the main menu.
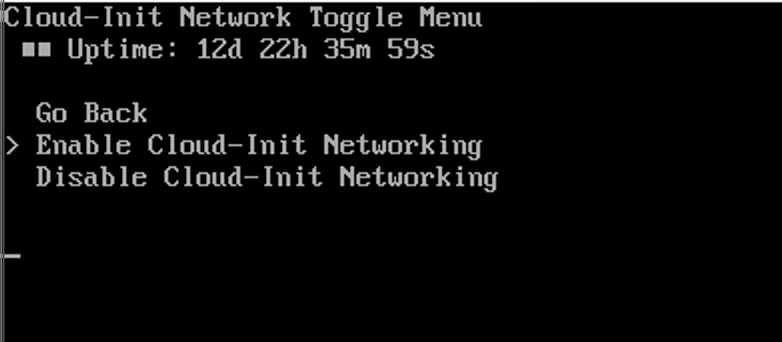
- Highlight the “Cloud-Init Network Toggle” option and press ‘Enter’ to select it.
- Go Back: Takes you back to the main menu without making any changes.
- Enable Cloud-Init Networking: Enables Cloud-Init Networking on your instance.
- Disable Cloud-Init Networking: Disables Cloud-Init Networking on your instance.
Reboot
Reboot
To reboot the VM, consult the following:
- Use the arrow keys to navigate through the available options on the main menu.
- Highlight the “reboot” option and press ‘Enter’ to select it.
Restart Cr Agent Service
Restart Cr Agent Service
To Restart CR Agent Service, consult the following: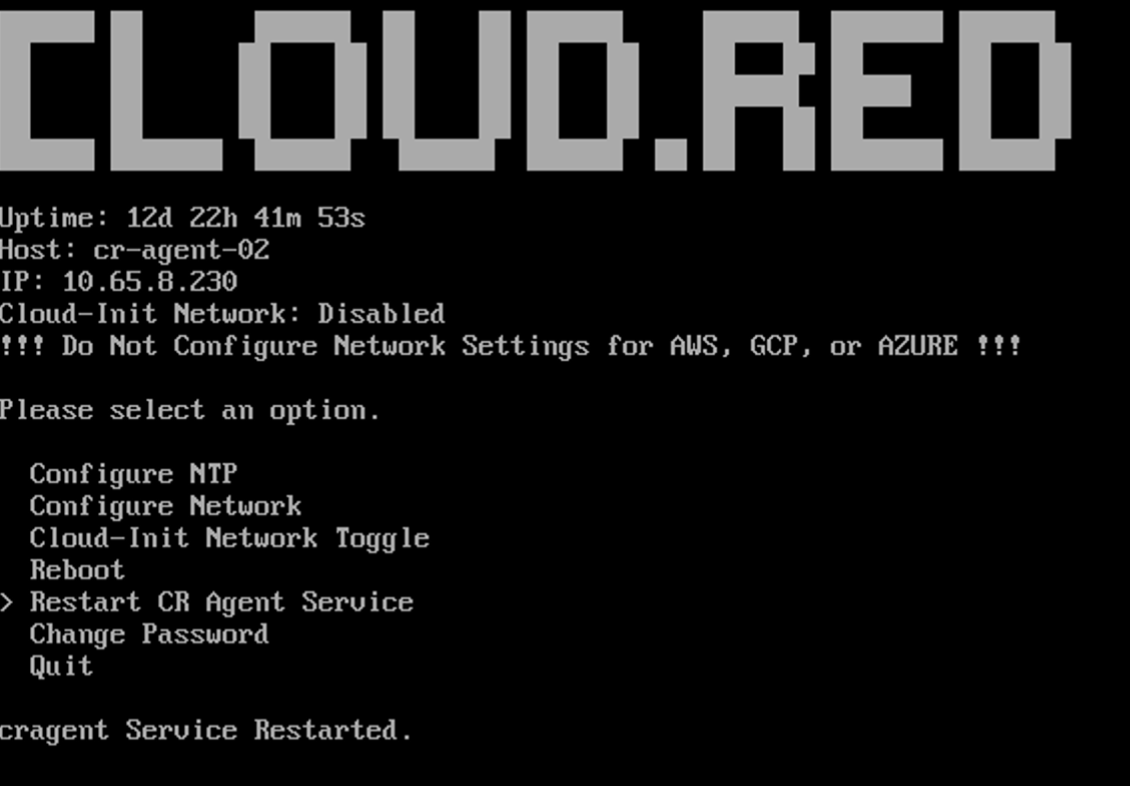
- Use the arrow keys to navigate through the available options on the main menu.
- Highlight the “Restart CR Agent Service” option and press ‘Enter’ to select it.
Change Password
Change Password
Despite the netadmin account being exclusively accessible via the console, adhering to best practices necessitates altering the default password. It is imperative that you update this password to a more complex alternative and securely store it within your designated secrets or password management system.To change the Password for the Netadmin user, consult the following: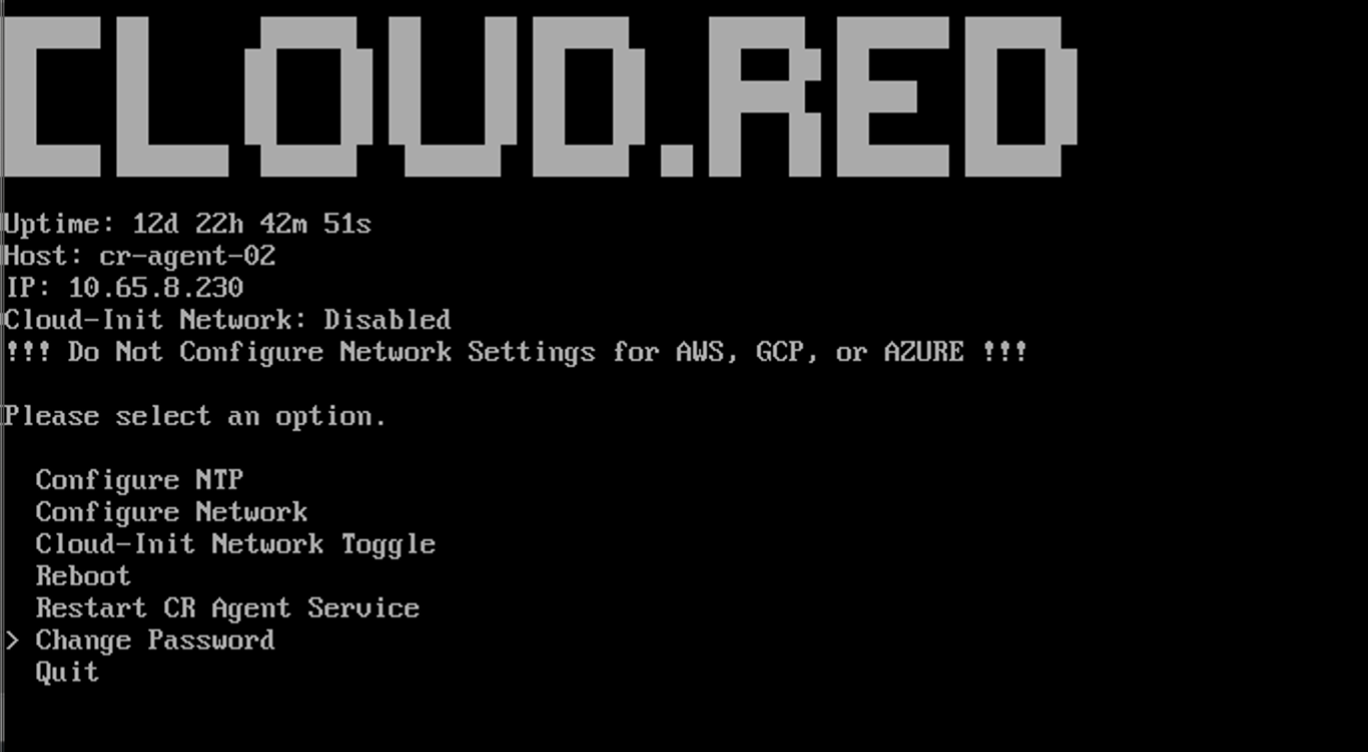
1
Access Change Password from the Main Menu
- Use the arrow keys to navigate through the available options on the main menu.
- Highlight the “Change Password” option and press ‘Enter’ to select it.
2
Select Change Password
The “Password Reset Menu” will open.
Highlight the “Change Password” option in the reset menu and press ‘Enter’.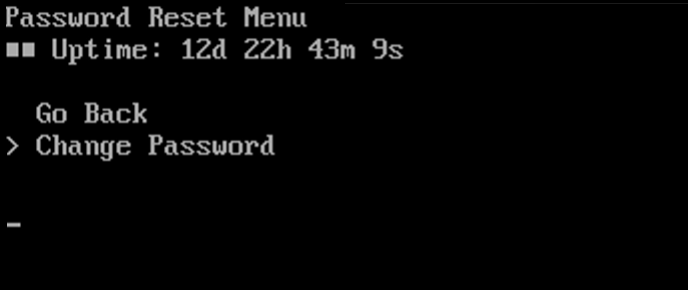
Highlight the “Change Password” option in the reset menu and press ‘Enter’.
3
Enter New Password
A prompt to “Enter New Password” will appear.
Type in the desired password you wish to set for the Netadmin user.Press ‘Enter’ after inputting the new password.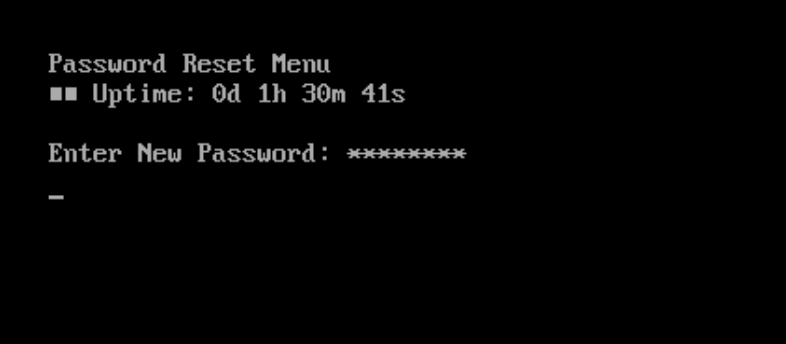
Type in the desired password you wish to set for the Netadmin user.
Note: The characters will be obscured for security reasons.
4
Re-enter Password
A prompt to “Re-enter New Password” will appear.
Type in the same password again to confirm.
Press ‘Enter’ after confirming the new password.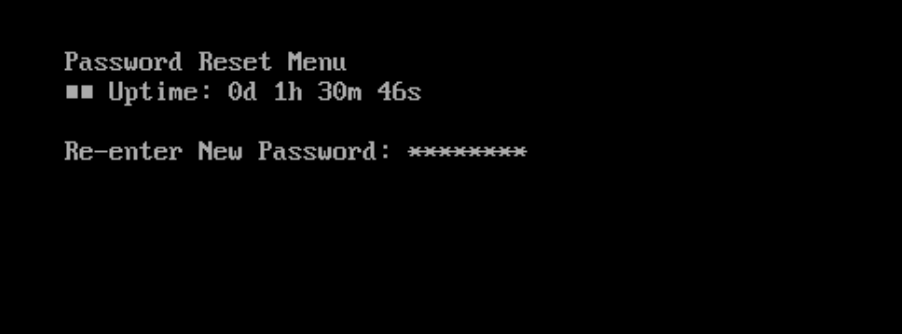
Type in the same password again to confirm.
Press ‘Enter’ after confirming the new password.
5
Password Change Confirmation
Confirming the new password returns users to the main menu.
After a successful change of the password, a confirmation message will appear: “Password reset successfully for ‘netadmin’”.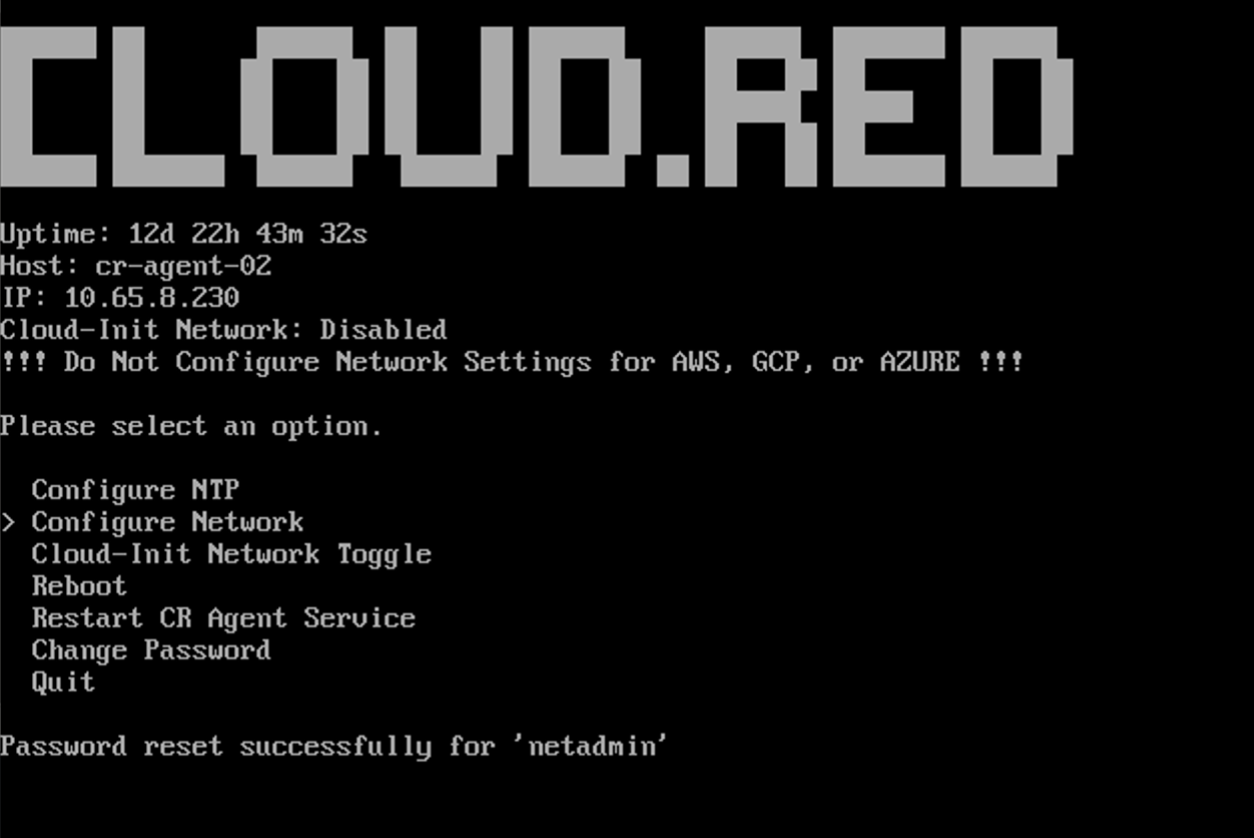
Before Continuing validate the following is complete:
- The virtual appliance’s static IP address is correct.
- Cloud-Init is disabled.
- All Network Configurations are correct.
- NTP has been configured correctly.
- The password for Netadmin user has been updated.
- Confirm that all Connectivity Requirements are met.
- Restart Cr Agent Service.
- Reboot the VM.
- If issues persist contact WorldTech IT.
Registering the Cloud.Red Agent
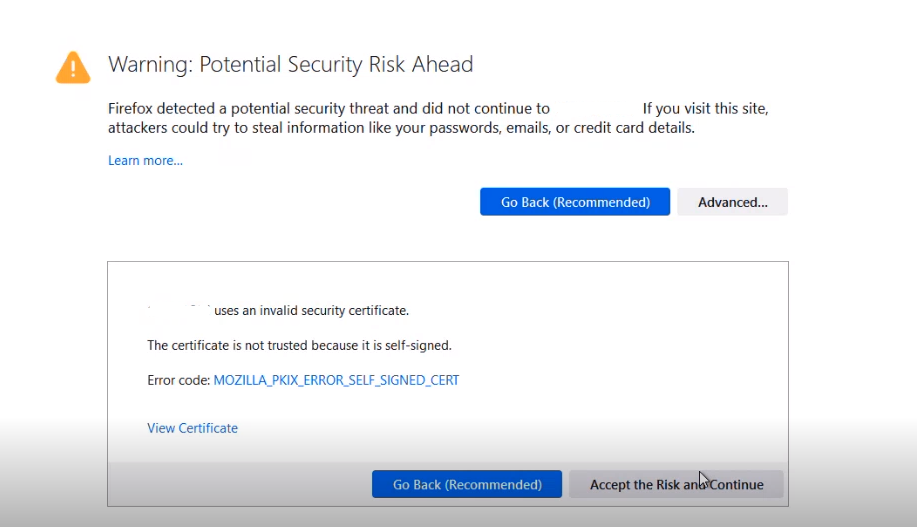
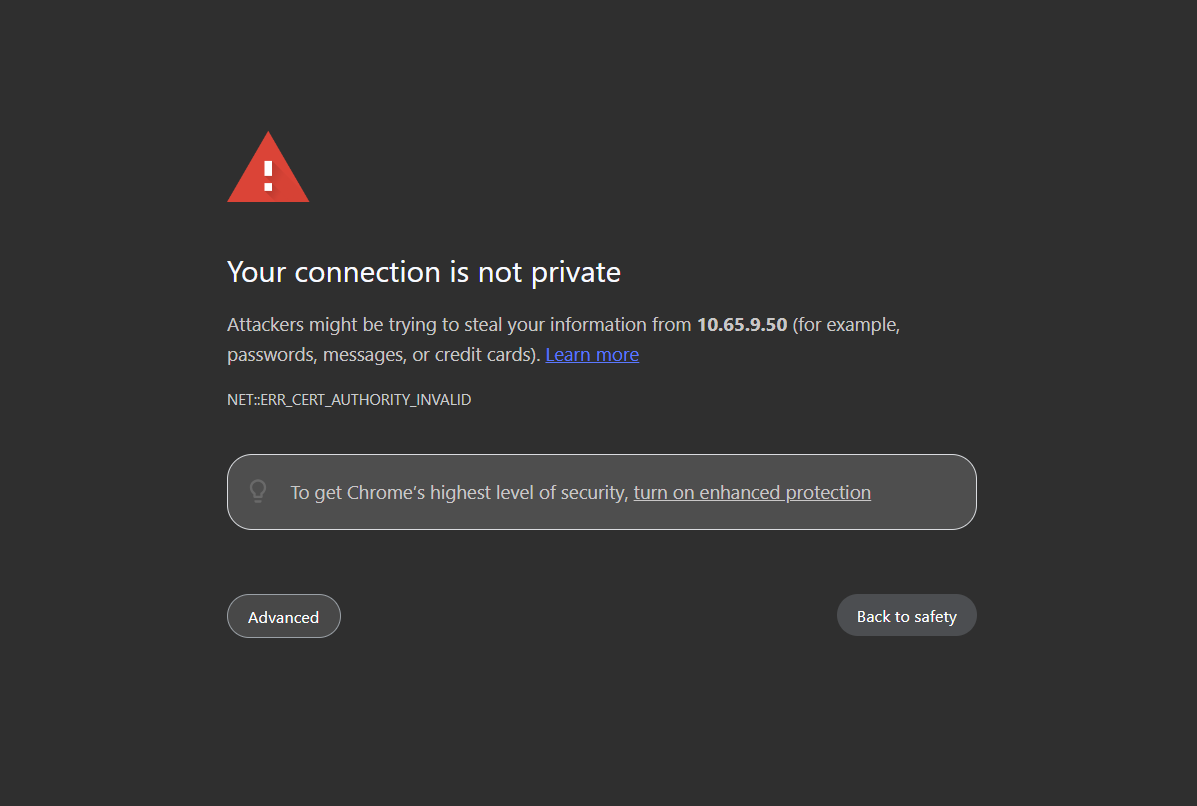
Connect to the Agent’s HTTPS Console
In your web browser, visit the IP address of your VM.

Continue Registration
Follow one of the following methods:Method 1 - Click Step 1’s Link
Method 1 - Click Step 1’s Link
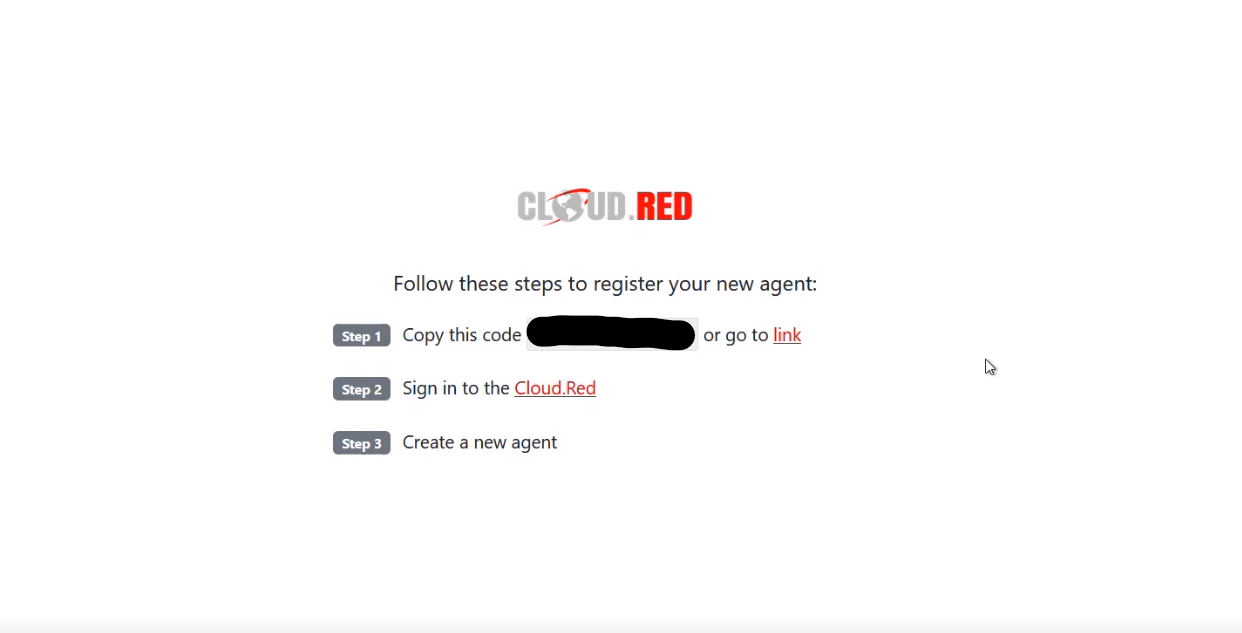
Click the link at the end of “Step 1”.
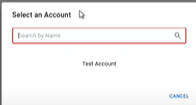
- You will be brought to the Cloud.Red Portal.
- Select your account.
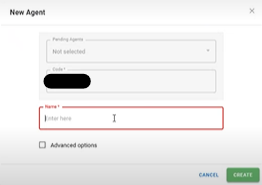
- The agent code will be auto-populated.
- Use the agent name provided to you by your WorldTech IT project manager.
Method 2 - Copy the Code and Create the Agent in the Cloud.Red Portal
Method 2 - Copy the Code and Create the Agent in the Cloud.Red Portal
Copy the code displayed in the middle of the registration page seen in step 1.Go to Cloud.Red and navigate to the agents tab on the left-hand menu.


- In the top right corner, click new.
- Paste the copied code.
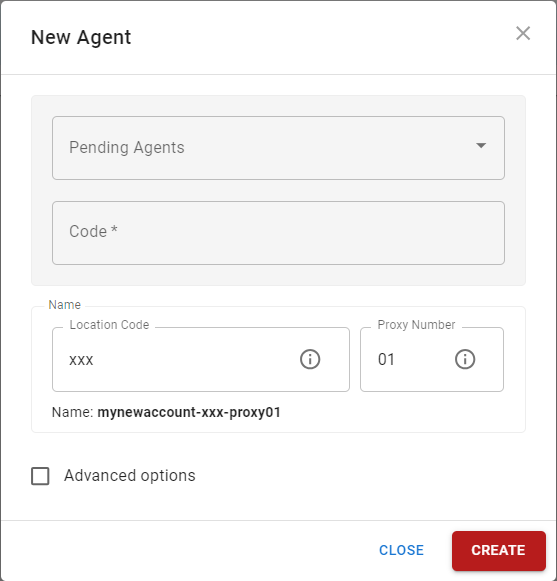
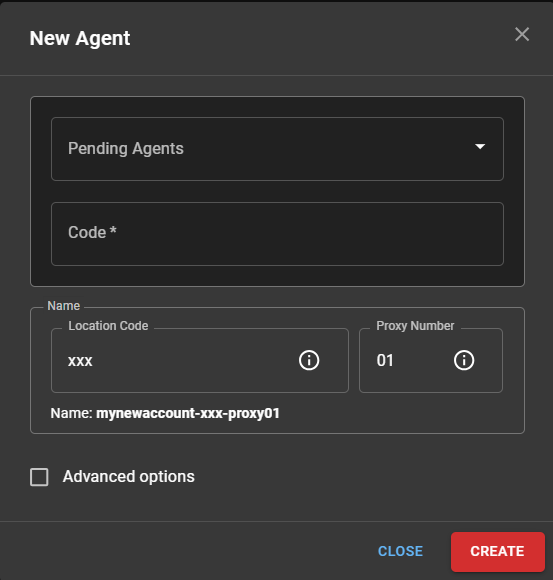
- Use the agent name provided to you by your WorldTech IT project manager.
Please contact WorldTech IT to complete the installation.